A couple of weeks ago I was made aware of a hook-tying system by a post on the Maggot Drowning forum. At first, I was sceptical. Why would I need a hook tying system? Anyway, I followed the thread and realised that there was probably more to this than first met the eye. To cut a long story short, I came to the conclusion that although I probably did not really need one, I would like one. There were enough positive comments to make me look a bit closer. I read everything I could find and watched several videos, that were more promotion than comment. I was so intrigued by the vast differences of opinion given by those who had not tried it as well as a few who had, I decided to buy one. This review will be split into two parts. First I will look at the purchase, delivery, unboxing, assembly and instructions. Then I will then discuss the results obtained from my first use.
Description
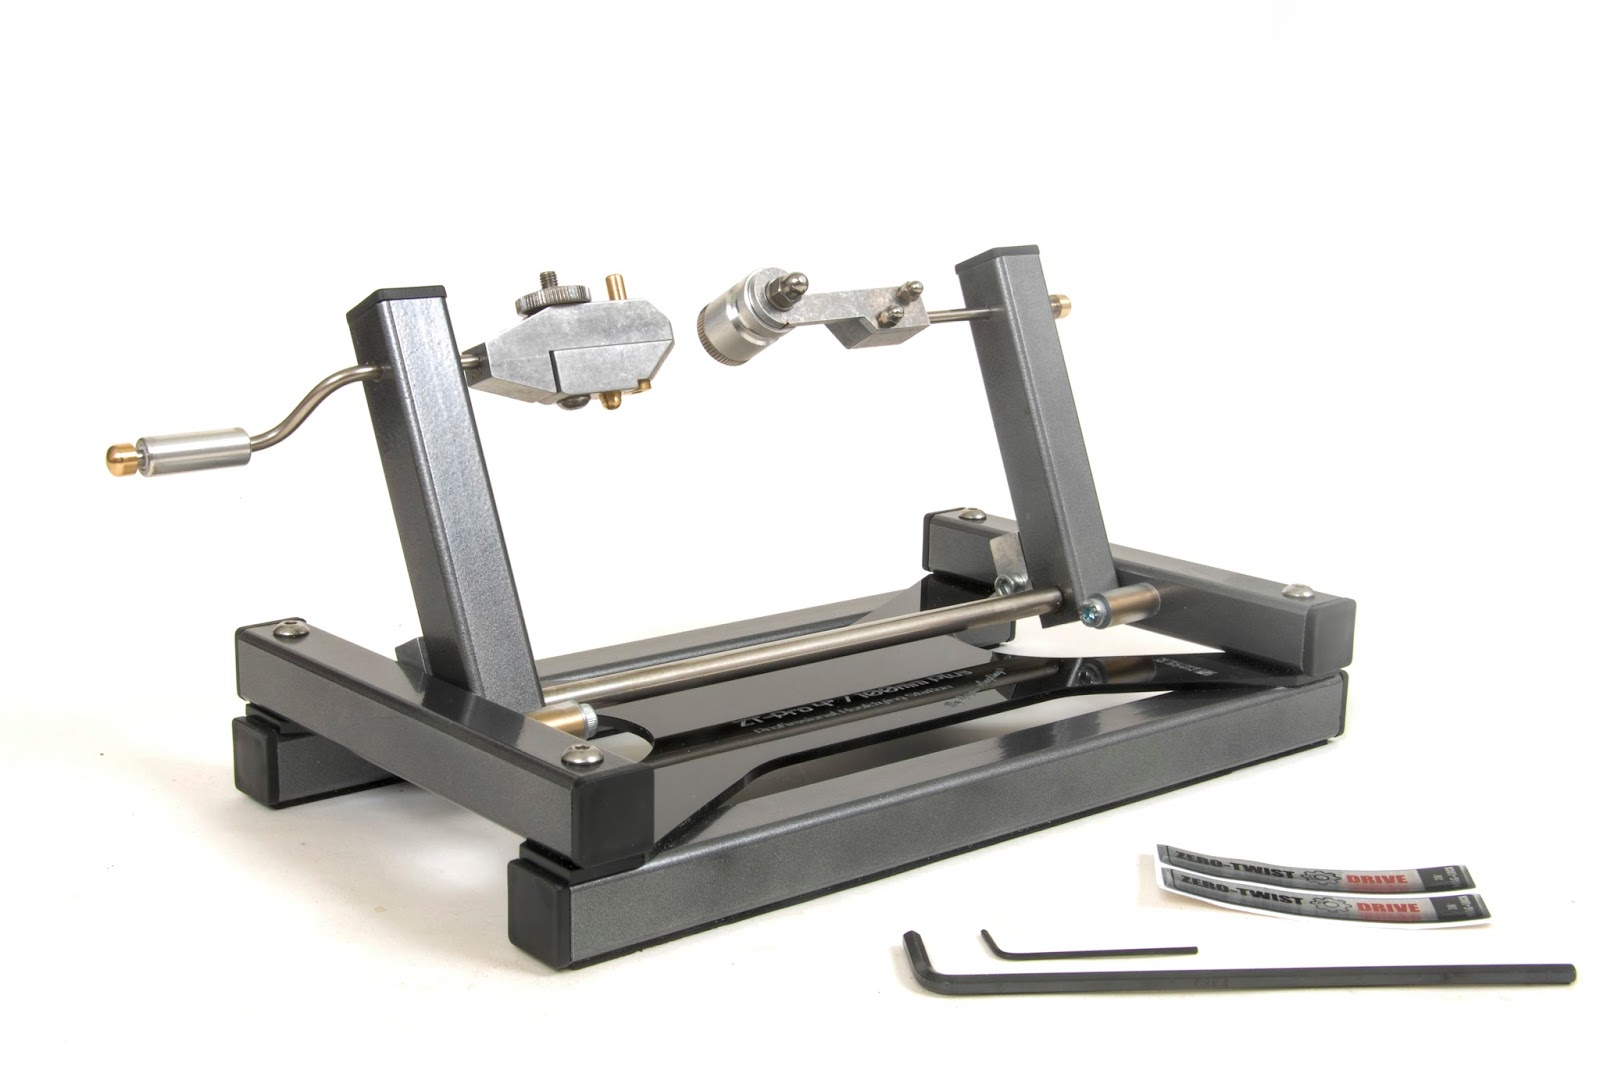
The ZT-Pro is a British made hook tying machine designed to tie spade end hooks to a length of fishing line that has had a loop tied at one end. Gizmo Angling makes all sorts of claims as to its ability to make superior hook lengths easier and quicker than has been possible before; we will see. The main advantage is highlighted by its capacity to tie hook lengths without twisting the line. That is what the ZT stands for - Zero Twist.Construction of the frame is from square section steel tube and acrylic that is bolted together using hex-head machine screws. Non-slip foam strips are applied to the bottom of the longitudinal steel tubes, which prevent the device slipping on a hard surface. The clamp-head and fittings appear to be made from cast and machined steel, aluminium and brass to a very high standard. This machine is the 'plain' model, a coloured, anodised finish to the heads is offered at extra cost. The arms are able to swing forward and back independently to allow ease of fitting the hook and to make other adjustments. The arms are held securely in the operating position by powerful neodymium (rare-earth) magnets. Turning the handle rotates the clamp-head and transmits the rotational power to the opposite head by way of pulleys, toothed belts (housed inside the arms) and a longitudinal steel shaft that also acts as the pivot for the arms.
The machine is supplied laid flat, and the only assembly that is required is to fit the silicone covered, brass tube arm supports using the hex-head set screws provided. A well-sized hex-key is provided for this purpose. A smaller hex key is also supplied for making fine adjustment to 'fixed' settings. An 'Installation and user guide is also provided in the box.
Let us begin...
Decision made, I went to the website to see how I could make a purchase. There is a telesales number for those who prefer to deal with a person. I chose to click on the buy it now button. Although the website itself is not a secure site (The 's' at the end of 'https' stands for 'Secure'. It means all communications between your browser and the website are encrypted. not all sites have the 's'), it does not need to be. Although none of the checkout is secure, when you hit the 'Make a Payment' button you are then passed over to the secure World Pay site, and all your card details are encoded, no one will see your details, and World Pay will authorise your payment (or not!). There no PayPal option which is unusual, these days. |
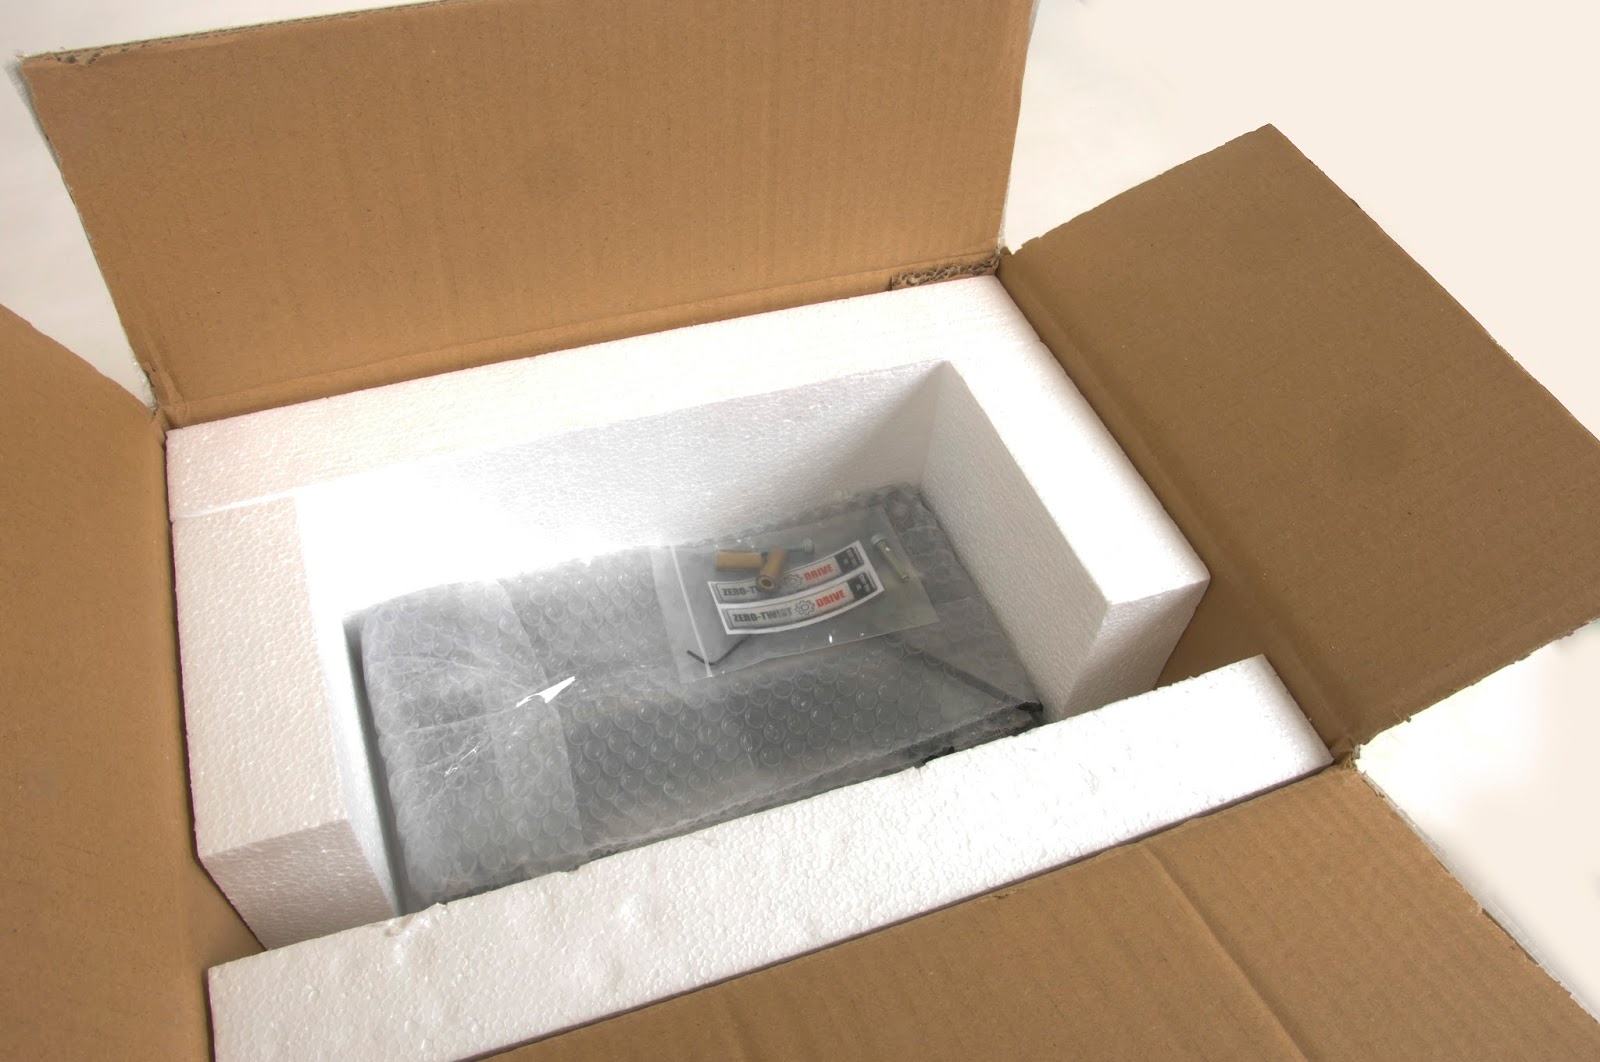
| The well-taped carton, delivered next day by UPS |
 |
| Tailor-made packaging |
 |
| Ah! There it is... |
 |
| ...still more packaging... |
 |
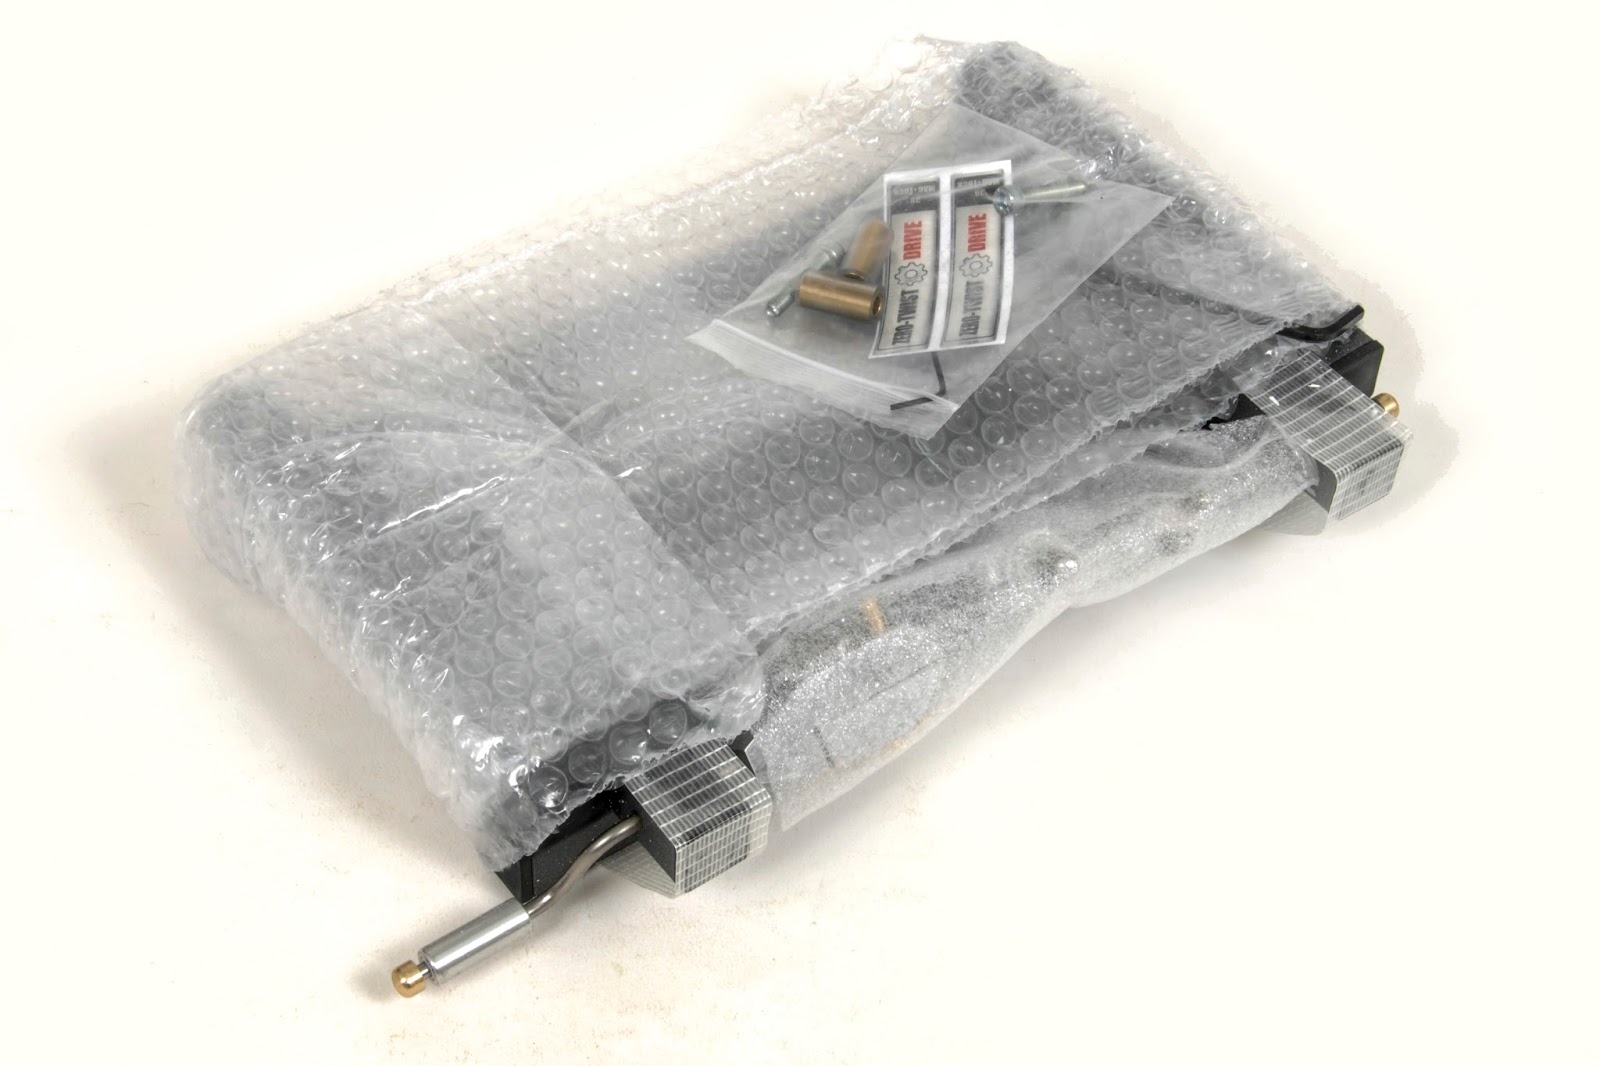
| ...free at last. Well almost. Just need to remove the tape and assemble the last couple of bushes - See header picture |
In the great tradition of most blokes, with those famous words uttered by the late Dennis Thatcher ringing in my ears "If all else fails, read the instructions", I picked up the user guide to have a look and make sure I had not missed anything. The guide is printed on some excellent quality matt art 'paper' of a weight normally reserved for restaurant menus! I am sorry to say it, but this guide is a real let down. I was surprised to find it confusing and poorly written, full of mistakes and not at all clear. It is a shame, as, on the face of it, it does not reflect the care and thought that has gone into the rest of the development of the ZT-Pro. I am only pleased that I saw the online videos on construction and use before I saw the user guide. The videos, although having an amateurish charm about them, do show a raw honesty of how the machine does the job in real time. Whatever you do, do not let my criticism of the user guide put you off. This is something that a lot of small businesses get wrong. They can't be experts in every part of design, manufacturing and marketing, and I can see how today's technology can make it tempting to do it all yourself. It is so much easier and cheaper today to get short-run printed items produced than it has ever been. It is very tempting to compromise on the preprint, copyrighting, illustration and photography instead of spending money using professionals. I will not labour the point as this is something that can be rectified relatively quickly and has no real bearing on the operation of the machine. As I have already said, the online videos by the makers and independent YouTubers are more than sufficient to impart an understanding of how it works and what it does.
First hook lengths
My thinking has been that the ZT-Pro will be ideal for tying those smaller hooks. Time to jump in at the deep (ish) end and try a size 18 Kamasan B911 tied to some 0.09 (that's 2lb 2oz) Reflo Power mono. Any smaller and I will have trouble seeing it, let alone being able to photograph it. Once I have now tied a few hook lengths and got the hang of it, I will have a go at the smaller sizes.The first thing to do is to tie a loop at the end of a length of the line. I decided to use a swan-neck loop tyer as this makes it quick and easy. I trimmed the tag end, from the loop, and run off about a foot of line. The instructions suggest using about 18 inches, but this seemed a bit excessive for a 4-inch hook length. But I guess that may have included a few inches required to tie the loop. Following the instructions on the instructional video posted on the Gizmo Angling website, I tied my first hook. Not bad, but I had a loose loop of line around the shank. Next try was almost perfect except I had a couple of turns running up the spade. I tried a couple more times, and I was getting the same result. At this point, I realised that I could not clearly see the line winding onto the shank. This is no fault of the ZT-Pro, just my ageing eyesight. A quick trip to the fishing room and a rummage turned up my OptiVISOR. I have discovered that these headset magnifiers work better if I wear my glasses as well. Depending what I am doing, I change from reading to distance glasses to alter the focal length.
Poor vision corrected, I can now see the grain of the metal hook. I can also see what I am doing - it does help! Now I am watching the turns of line whipping down the shank, and I can actually see the knot pull tight. Brilliant It works. I tied a few more just to illuminate the 'fluke' factor. This is definitely going to be quicker and more accurate than anything else I have tried up until now. There is another bonus that I had not thought about; it is comfortable to use. In the past using a hand tyer, I found myself constantly worrying about keeping the tension on the line and holding awkward positions just to do so. There is none of that with this machine. The clever little clamp that holds the line once the whipping has been achieved works well and holds everything in place. After tying a few lengths, I have it off to a fine art already. It is simplicity itself.
 |
| This is an enlargement of a number 18 B911 hook tied with 0.09 Reflo line |
For a review of the hair rig attachment see HERE.
For more information and pricing go to the Gizmo Angling website HERE.
Ralph